Shock! Your WordPress website was hacked. A new landing page saying "WordPress Hacked by XYZ" or nastier things shows up. You break a sweat and feel close to fainting. Your heart plays drums in your chest. You can't think clearly and you don't know what to do. Got it? Now calm down. It is not that difficult to clean up a hacked WordPress website and return to business as usual. We'll show you how to do it in this article.
First: Take a deep breath and don't panic. It's not the end of the world and you are not the only one with a hacked site. It happened to a lot of people, including me. That's why I know how to deal with it ;-) And I will now share my knowledge and show you how to solve this problem.
Certainly, the easiest way is to recover the website from an earlier backup.
You did take care of a backup solution, right? If so, it's not a problem at all. Just restore an older backup from a time where your website was not hacked. Change all passwords, use 2-factor authentification and your problem is history. If you don't have a backup, read on. We will deal with the problem step by step.
WordPress Hacked? Not as Bad as it Seems. Stick to the Following Guide
1 - Check Your Computer for Trojans
The first step might sound profane but it is very important nonetheless. A trojan on your computer could be the reason why the intruder was able to find the password for your website. Scan your computer with an antivirus program loaded with the newest virus definitions. When nothing was found, you're good. Still check the computer once more with the
Kaspersky Rescue Disc. You can continue with the next step should it also not find anything.
2 - Make Sure That Your Website is not Publicly Accessible Anymore
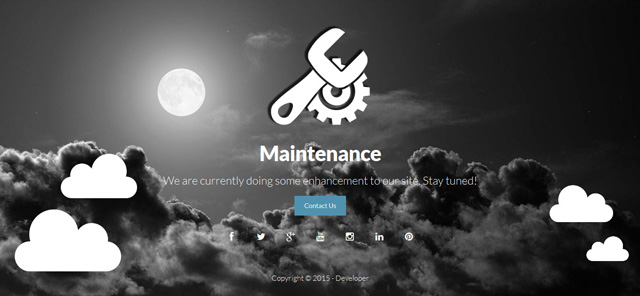
This step is very important as your website might have started spreading malware after being hacked and thus might be right in the process of being removed from the Google index (or other search engines, hehe). The fastest way to shut down your website from the public is the installation of a so-called "Maintenance Mode" plugin. If you can still log into your WordPress, install the plugin »
WP Quick Maintenance« and activate it. Now open the plugin settings and activate the maintenance mode there. From then on, every visitor will only see the maintenance page.
If you don't have access to the admin login anymore, reset your password.
Here is a good guide to resetting your password..
3 - Change all Passwords
Immediately change all passwords. You should start with the passwords on your computer. If you don't yet have any for that, get them. Nobody else should have access to your computer. If you can still log into WordPress, change the passwords of all accounts. A pretty solid and straight-forward
generator for save passwords can be found here. Additionally, you should change the passwords of the (S)FTP access and the WordPress database as well as the master password and the password of your web host.
4 - Get a Backup of all WordPress Files and the Database
Log into your server or webhosting package via (S)FTP and download all WordPress files to your desktop. Pay close attention to the folder "
uploads". This one definitely needs to be saved as it contains all uploaded files and images. You can find it under »
wp-content => uploads«. Download this folder onto your desktop separately because you will need it later.
Now create a backup of your database. To do so, log into the administration interface of your web host and choose "phpMyAmin" or whatever tool your host provides you with. Following that, choose your database and click "export". Export the database as "SQL" and if possible, as a .ZIP file. Don't forget to also save the important file »
.htaccess«. This file will also be needed later as WordPress doesn't work properly without it.
If you are using a Mac instead of a PC, you will need to activate the display of hidden data as all files with a dot before the file name are hidden system files for Max OS X and thus, as the name suggests, are hidden from view.
5 - Re-Download all Plugins and Themes
Download all used plugins fresh off WordPress.org or from the company that you bought them from. Also get the most recent version of the WordPress theme you are using. Plugins and themes are very popular for placing malware and backdoors. To entirely clean up the website, you will need to newly download all themes and plugins as the copies from the repository are guaranteed to be absolutely clean.
6 - Check Important Data and Folders
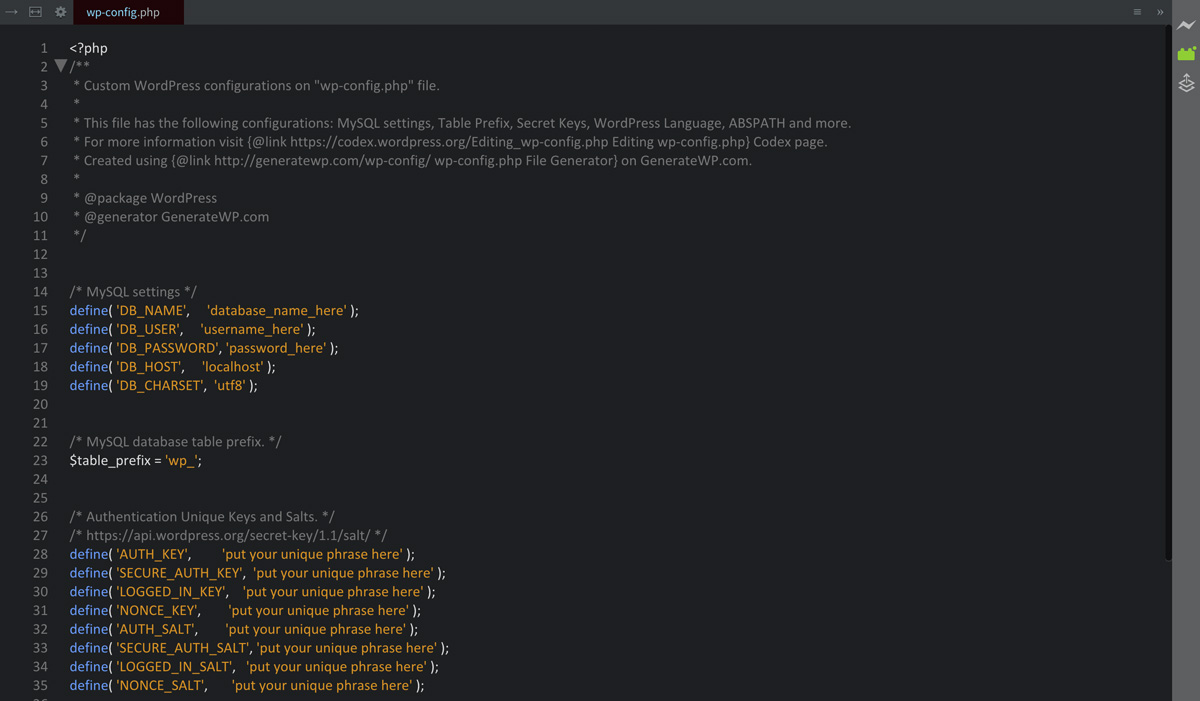
Search for the files »
wp-config.php« and »
.htaccess« in the backup and check them. The »wp-content.php« shouldn't contain much more than the access data to your WordPress database and the things that every fresh version of a file contains like the "Authentication Unique Keys and Salts"; meaning the security keys. If you're not sure how
the original version of the file looks, you can find it here.
Afterwards, check the ».htaccess« data to see if there are things that don't belong there. If you are not sure, just delete the content of the file.
In the WordPress codex, you can find the content of a standard .htaccess file. Copy the code into the file you cleaned and save it. Both files are needed for the recovery of your website.
7 - Check the Folder »uploads«
The folder »
uploads« is crucial for the success of the recovery as it contains all uploaded data, oremost all of your images. Open the folder and search it and its sub folders for
.PHPfiles. If you find any, delete them all. In most cases, they don't belong there. If a plugin in the folder does need a PHP file, it will automatically recreate it later.
8 - Delete all Data from the Server
Log into your webserver or your webhosting package via (S)FTP access and delete all data of your WordPress installation.
Delete ALL the data. Don't leave anything. Really. Go ahead. Do it!
9 - Upload a Fresh Package of WordPress and Important Files
Get a new WordPress version from WordPress.org and upload it onto your server or webhosting package via (S)FTP access. You should also newly distribute the security key in the »wp-content.php« file, the generator "
https://api.wordpress.org/secret-key/1.1/salt/" helps you with that.
After that, load the »wp-content.php« and the ».htaccess« data back into the root of your WordPress installation. Now open the folder »wp-content« on the server and load your »uploads« folder into that. Afterwards you should have gained access to your WordPress again. Login to the admin interface.
10 - Install New Themes and Plugins
Newly install all plugins. Subsequently, install a fresh version of your theme. Please, do yourself a favour and don't use any old versions from the backup. Chances are that they contain malware. Only use new and fresh versions.
11 - Update the Database to the New WordPress Version
This step is unnecessary if you always upgraded to the newest WordPress version. However, when you didn't always do that, your database might have to be updated for the new version. Enter the following URL in the address bar of your browser:
http://www.yourdomain.com/wp-admin/upgrade.php
Afterwards, follow the steps and refresh your database.
12 - Check the Correct Read/Write Rights on the Server
Now, you have to make sure that the files and data can't be altered from outside. Too many rights open the door to your WordPress installation for hackers. Adjust your rights the following way:
| File or Folder Relative to the Root |
Rights |
Inherit* |
| Root |
705 |
yes |
| /.htaccess |
404 |
no |
| /wp-config.php |
404 |
no |
| /index.php |
404 |
no |
| /wp-blog-header.php |
404 |
no |
| /wp-admin/ |
705 |
yes |
| /wp-includes/ |
705 |
yes |
| /wp-content/ |
705 |
yes |
13 - Scan your Website Using the Exploit Scanner

Install the WordPress plugin »
Exploit Scanner« and let it scan your website. When there is still malware inside your database, the plugin should find it. Consider one thing: Malware can now only be within the database as all other files have been freshly installed or, in case of the »uploads« folder, cleaned from harmful data. If malware is found in the database (which is rather unlikely), you should leave the job to a professional as the database is the heart of WordPress. One mistake and your website is history.
14 - Test - Test - Test
Open your website in the incognito mode of your browser and check if the hack is gone. Also test if all articles and pages can be accessed without any issues. Check the features and if all errors are gone while being logged in as well as while being logged out as some hacks can only be seen while not being logged in.
If you don't find anything and everything works without issues: Be happy, you got your website back!
15 - Deactivate the Maintenance Mode
As everything works flawlessly now, you can deactivate the maintenance mode and with that have your website go back live.
Conclusion
Recovering a hacked WordPress website is not entirely easy, but also no rocket science with our guide. It's important to keep calm and approach the problem systematically. Then, almost nothing can go wrong.
Related Links
(dpe)
Featured Image by Nahel Abdul Hadi on Unsplash 

Great blog post and some really valuable content. People are often not aware that their PC might be the cause for their site/sites beign hacked and that is why I also agree that the first thing needed to be done is to Check Your Computer for Trojans.
I also use a great plugin ( Anti-Malware Security and Brute-Force Firewall – known also as gotmls) to determine all the infected files on my site: https://wordpress.org/plugins/gotmls/
But far most effective way is to setup automated backups of your entire site and db, or you just need to change your hosting provider because there are some really reliable ones out there. I use SiteGround for over 4 years now and have never had any issues with hacking.
Excellent guide, thx for sharing it Andreas!
A quick tip here, if someone finds this article in a panic after an attack that has broken something on their site, you can actually find very qualified, highly community-reviewed (with hundreds or thousands of star rating) WordPress pros to fix most basic stuff for, I kid you not, just a few dollars over at Fiverr. Do you homework, but many of these guys know what your problem is in 2 seconds because they’ve probably fixed it 10 times today and yesterday and can do so very quickly .
And we here at Noupe advise you all to never ever promote poverty work over at platforms such as Fiverr or 99designs or whatever name these specimen carry. You want to receive fair payment, so pay fair, too.
I highly recommend Wordfence security plugin. It works right out of the box and includes checking core, theme and plugin files against the WordPress repository.
I had a similar problem recently on my site, I will try to do what you say in Article