
Time Lapse Videos: How to Quicken the Pace of Your Movies
You can choose between two equally great methods to let videos run faster than in real-time. One is doing it directly from your camera, the other is postprocessing them in a suitable software such as Adobe Premiere. Both methods reduce long hours to a mere few minutes or seconds, even, while needing a speedy eye. Yet, nothing falls through the grid that way...
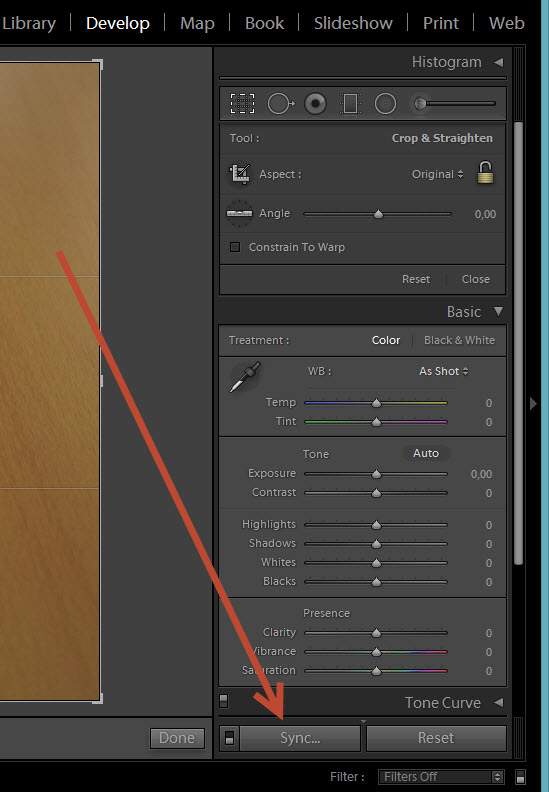
 Then, you're finished, yet only with the first of probably hundreds of photos. Let Lightroom help you. Press CTRL + A, which will select all your photos, then click Sync.. Lightroom will now process all images according to the manipulations you've just finished.
 For the creation of our time-lapse video we'll simply use a Lightroom template. As there are no appropriate templates per default, we head on over to the Lightroom Blog and take this template from there. In Lightroom right-click on User Templates and Import from inside the Template Browser.
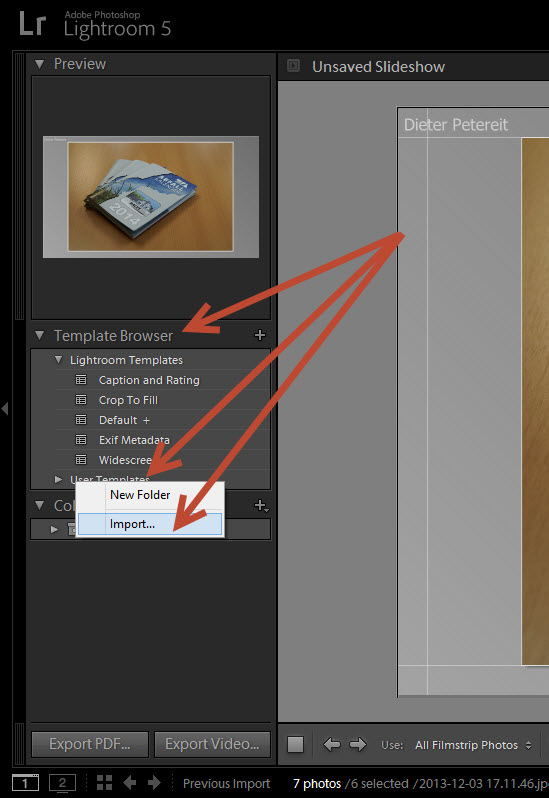 Choose the download folder and load the template. Then, at last, click Export Video, choose an appropriate Video Preset and name your movie.
Step 1: Shooting the Photos
Obviously we'd need quite a few photos first. Remember that you need between 24 and 30 photos for one second of a real-time movie. This is where we decide the speed of our film. We could for example take one photo every four seconds. That way we'd be able to fit two minutes of photos into one second of film. The interval determines the speed of your time-lapse video. You could even choose days or weeks... Always fascinating is the motion of objects that move so slowly you don't even notice they do, at least in real-time. Think of clouds, plants or the starry sky. You could also drastically enhance the speed of people or cars, letting them shoot around the place like bullets. Mandatory for taking such photos is the use of a solid, heavy tripod or other suitable stand as the camera should best not move during your photo session. If you prefer a compact camera or DSLR is not that important. Important is the possibility to shoot photos in defined intervals. Is your camera equipped with this feature, you don't need any more hardware. If it doesn't fear not. There are multiple external remote releases available. You can even find add ons for your smartphone with corresponding apps. Generally you should turn off any other automatic adjustments, especially lighting and focus. If you don't set values manually, you risk to jumps and other "noises" in the end result. As we are going to produce a video and our storage space will not be unlimited, you should lower the image quality a little beforehand. Try using "small" RAW or one of the better JPG qualities. Faster, yet with lower quality, would be recording a video directly and then cutting single frames from it to enhance speed. Regardless of what you opt for, make sure to produce enough material to have your movie run longer than one or two seconds. This wouldn't be too impressive...Step 2: Editing in Adobe Lightroom
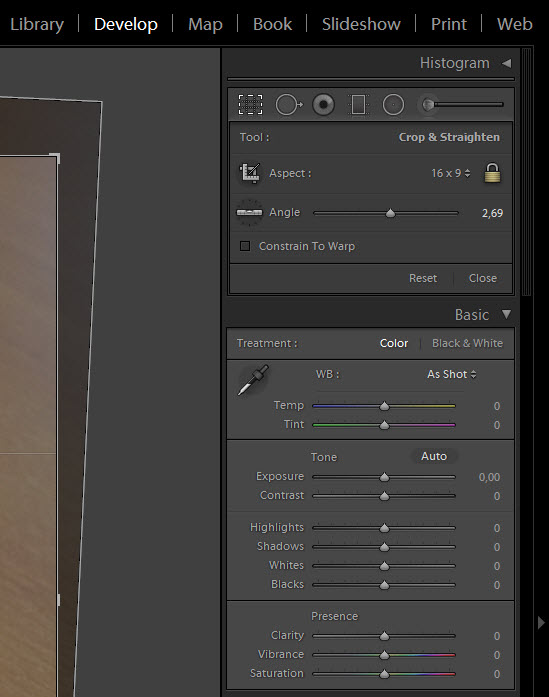
Import your photos into Lightroom and carefully optimize the first photo. Let's start with defining the video format. Go to Develop, click Crop Overlay (R) and then Original. Choose 16 x 9 from the drop-down. Straighten it if needed by creating a proper horizon, then optimize whatever else needs optimization. Be creative if you want.
Then, you're finished, yet only with the first of probably hundreds of photos. Let Lightroom help you. Press CTRL + A, which will select all your photos, then click Sync.. Lightroom will now process all images according to the manipulations you've just finished.
For the creation of our time-lapse video we'll simply use a Lightroom template. As there are no appropriate templates per default, we head on over to the Lightroom Blog and take this template from there. In Lightroom right-click on User Templates and Import from inside the Template Browser.
Choose the download folder and load the template. Then, at last, click Export Video, choose an appropriate Video Preset and name your movie.
Thanks for the lesson.