
How to Create Forms in WordPress 6.3 Using the Jotform Plugin

WordPress and Jotform help simplify website form creation and management. This tutorial shows how to use the Jotform plugin to add Jotforms to WordPress.
Jotform, a popular online form builder, makes it easy to construct everything from contact forms to surveys and registrations. Jotform can improve user engagement, data collection, and user experience by integrating with WordPress.
Sign up for Jotform
You must first create a Jotform account in order to use Jotform on your WordPress website. In order to create your Jotform account, follow these steps:
- Visit Jotform's website.
- Click on the "Sign Up" button located in the top right corner.
- Fill out the registration form with your name, email address, and password.
- After completing the registration, click "Create My Account."
You may create and modify forms for your website using Jotform's form-building platform, which you can use when you join up.
Install the Jotform Plugin on Your Site
Installing the Jotform Online Forms plugin is required in order to integrate Jotform with your WordPress website. This is how you do it:
- Open your WordPress Dashboard.
- Navigate to the "Plugins" section in the sidebar and click on "Add New."
- In the search field, type "Jotform Online Forms" and press Enter.
- When the plugin appears in the search results, click the "Install Now" button.
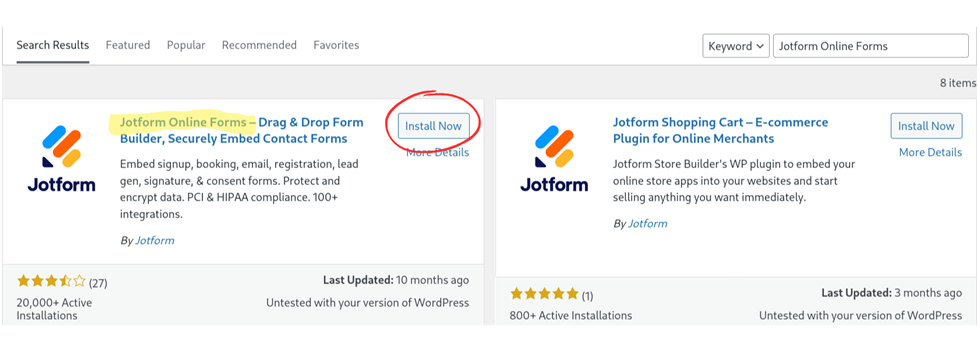
- After the installation is complete, click the "Activate" button to activate the Jotform plugin.
Now that the Jotform plugin is activated and installed, you may create and integrate forms on your WordPress website.
Create a New Form
You can begin developing forms now that Jotform is linked to your WordPress website. To build a new form using Jotform, take the following actions:
- Using the login information you provided at registration, access your Jotform account.
- Click the "Create Form" button in your Jotform dashboard, then choose "Use Template."
- You can look for a template that works well for your form. We'll utilize a "Contact Us" template in this example.
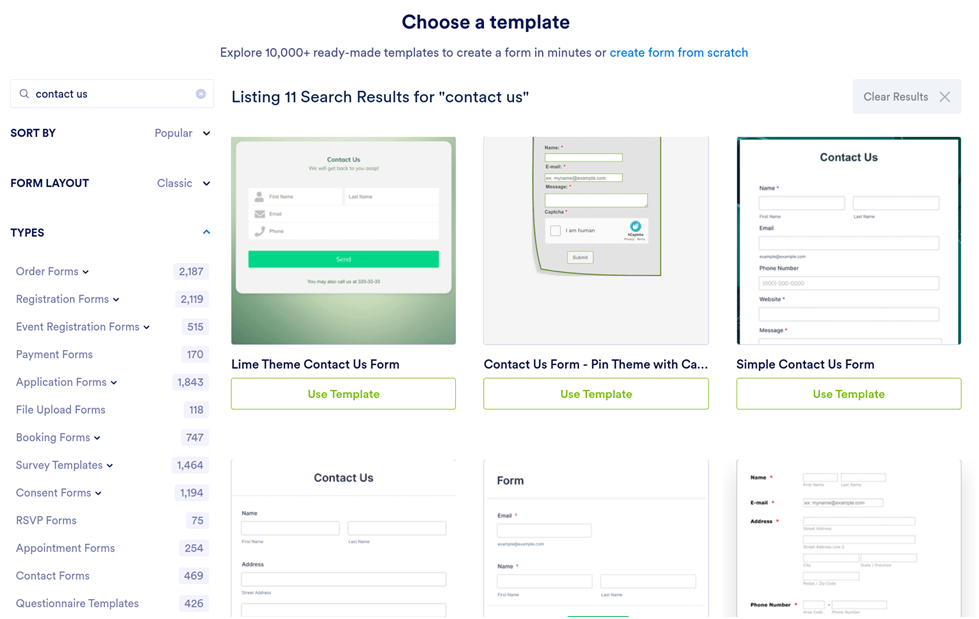
- To make sure the chosen template satisfies your needs, you can preview it.
- Alternatively, you can begin with a blank template if you would rather start from scratch and design a form with unique fields and layout.
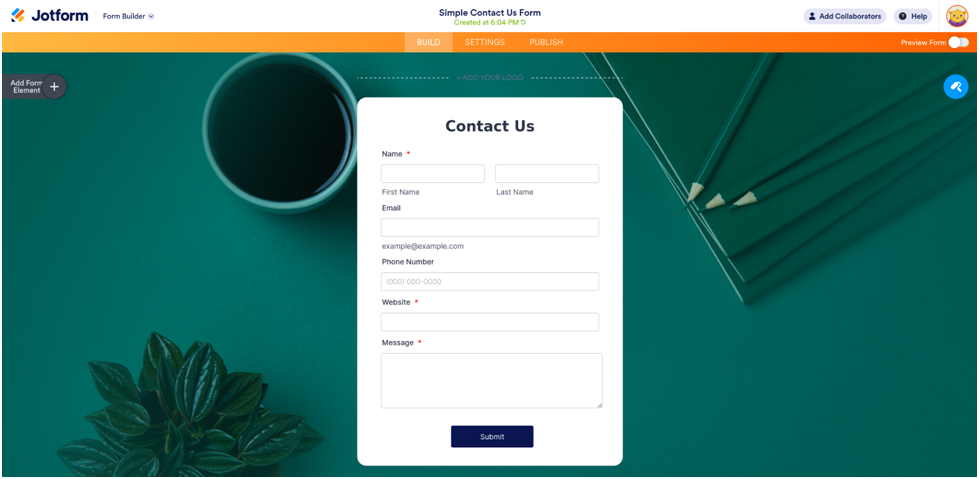
With Jotform's intuitive drag-and-drop interface, you can quickly and simply adjust the fields and look of your form.
Check out Jotform for Beginners, Volume 2 to learn more how to set up no-code mobile forms, generate PDFs, build online stores, collect e-signatures, create automated approval flows, and much more.
Embed the Form on a Page or Post
After creating your Jotform form, embed it in a WordPress page or post. Jotform forms are easy to add to WordPress pages and posts because of its block-based editor.
WordPress 6.3 uses blocks for content and images. Blocks organize text, graphics, and forms, making content arrangement more natural and versatile.
Method 1: Include via Classic Editor Block
- Open the page or post where you want to include Jotform.
- In the content editor, type /classic where you want to add the form.
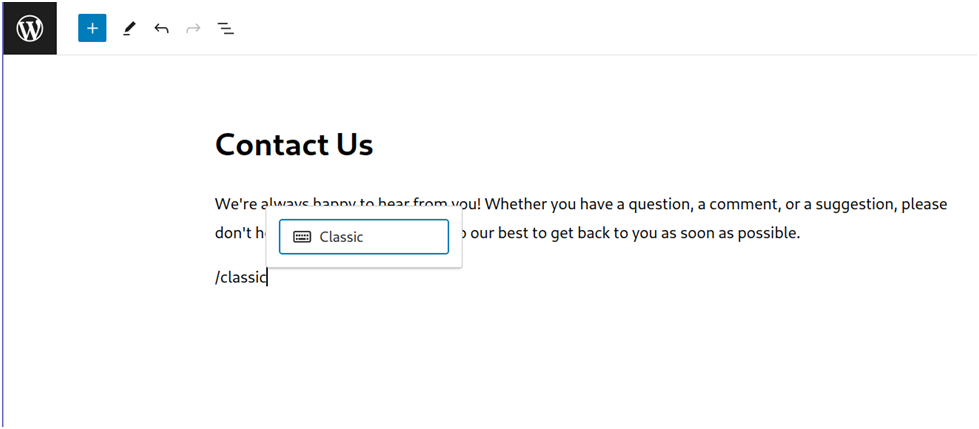
- Select the "Classic" block from the available blocks.
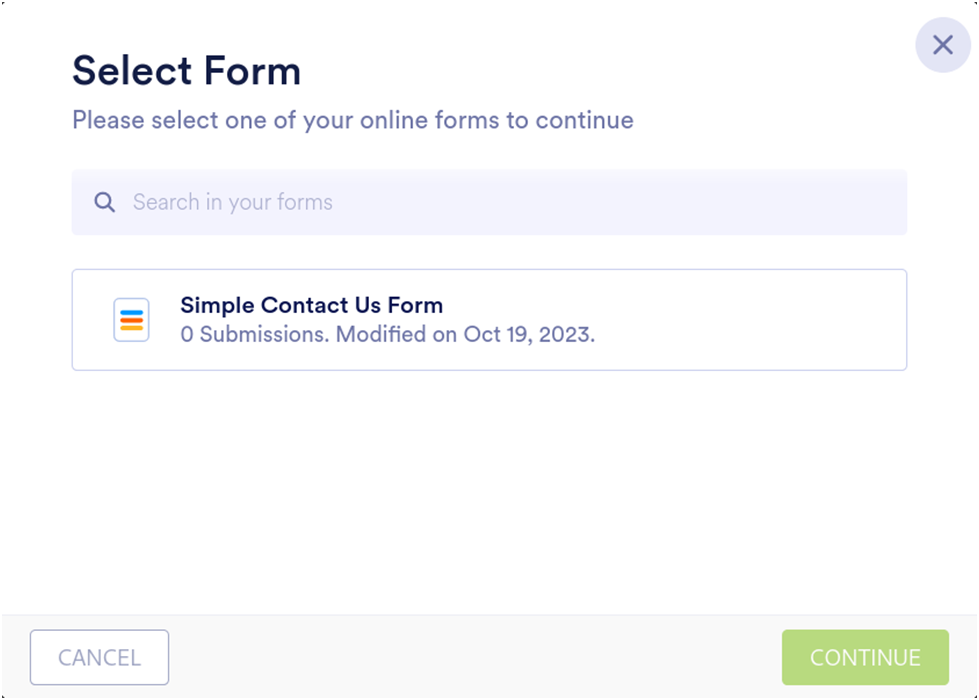
- Within the Classic block, you'll find the Jotform icon; click on it.
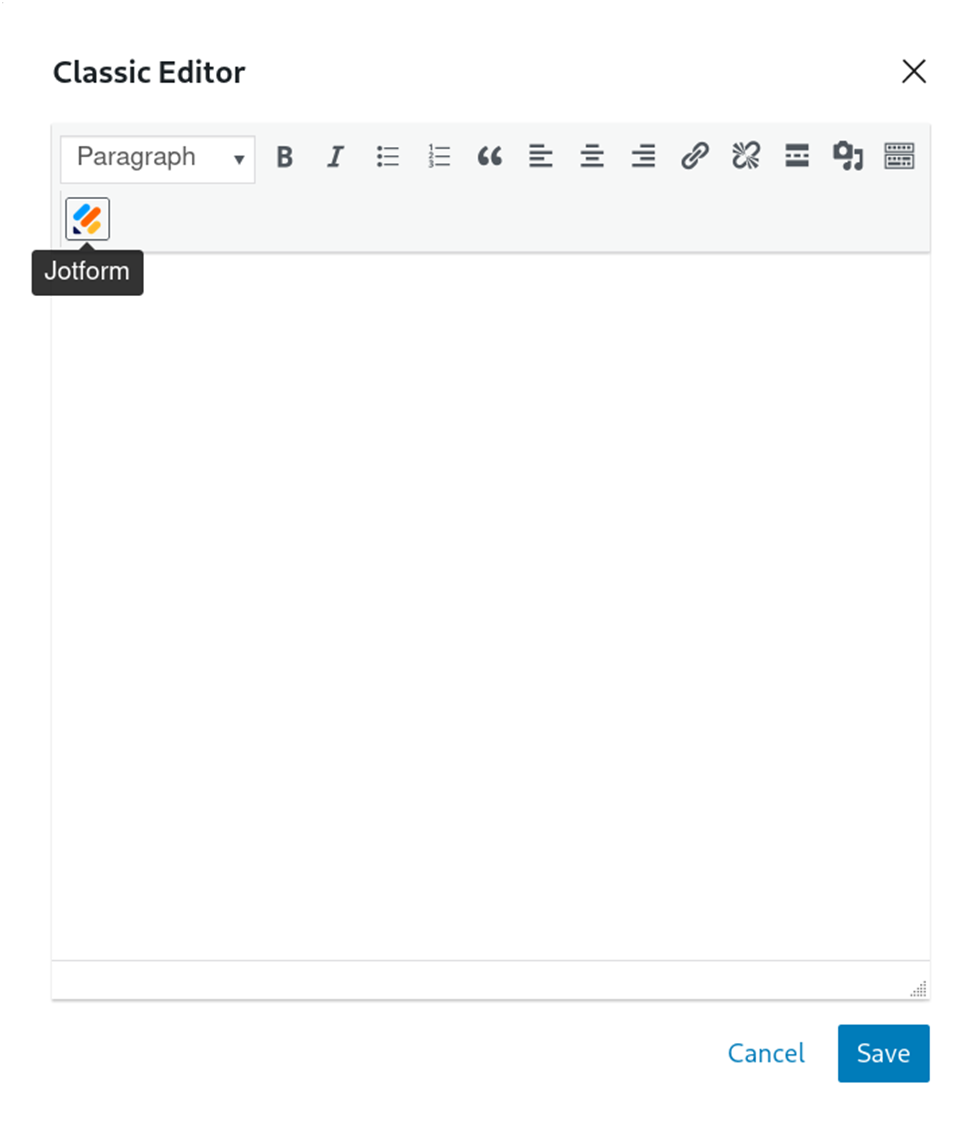
- You'll be prompted to log in to your Jotform account. After logging in, select the form you created earlier.
- Save the Classic block, and then preview the page. Your form should now be displayed on the page.
Method 2: Include via Shortcode Block
WordPress shortcodes are unique blocks that let you add features from different plugins straight into your page. In this instance, your form will be shown using the Jotform shortcode.
- On Jotform.com, open the form you want to embed.
- Click on the "Publish" tab within the form builder.
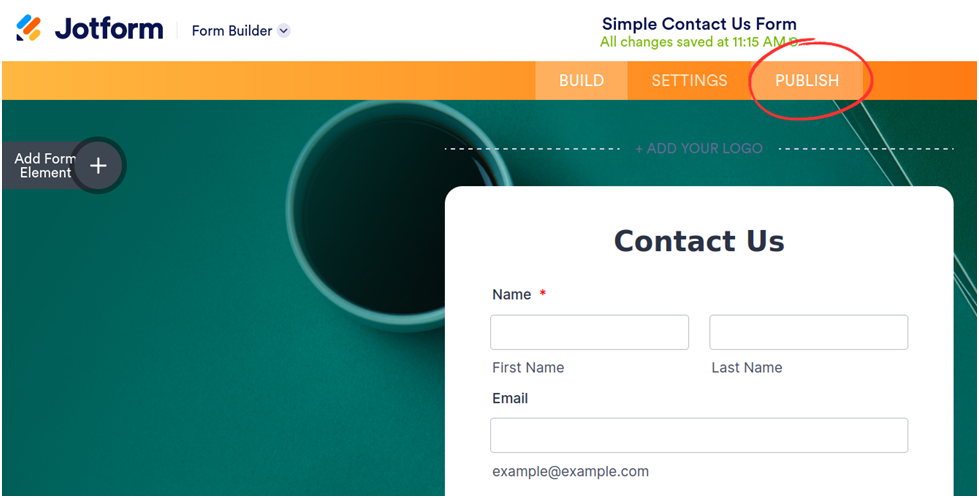
- You'll find a link to share your form in a format like https://form.jotform.com/<your-form-id>. Copy this number.

- Go back to your WordPress page or post.
- Create a new Shortcode block by typing /shortcode in the content editor.
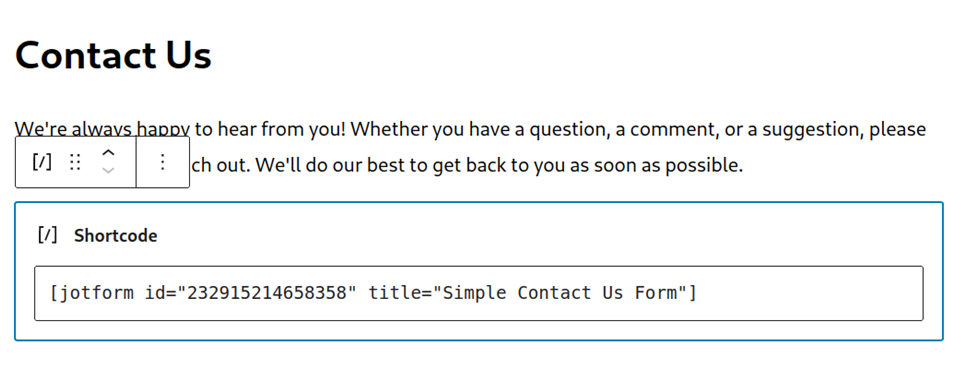
- Insert the following code into the Shortcode block, replacing <your-form-id> with the actual ID of your form:
[jotform id="<your-form-id>" title="Simple Contact Us Form"]
The resulting block should look something like this:
You may quickly add Jotform forms to your WordPress content by utilizing the Shortcode block or the Classic Editor.
Choose a High-Quality WordPress Theme to Showcase Your Forms
Choosing a premium WordPress theme is essential to the usability of your website. How nicely your Jotform forms integrate with the rest of your website can be significantly influenced by the theme you choose. A well-thought-out theme can improve the user experience and give your forms a more polished appearance.
Consider features like style, responsiveness, customization options, and Jotform plugin compatibility when selecting a premium WordPress theme for your website.
On the website The Bootstrap Themes, you may browse a selection of premium themes. Make sure the theme you select complements the design and objectives of your website.
Conclusion
You now know how to use the Jotform plugin to easily incorporate Jotform forms into your WordPress website by following this step-by-step tutorial. This combo improves the functionality and user experience of your website by making it simple to create, modify, and integrate forms. You may effectively gather data, interact with your audience, and optimize several website processes by following these guidelines.
It's important to select a WordPress theme of superior quality that goes well with your Jotform forms so that your website appears unified and expert. With these tools at your disposal, you may maximize the potent capabilities offered by Jotform and improve your WordPress website. Begin constructing and integrating forms right now to improve the functionality of your website.