
How to Make Good E-Commerce Photos on a Budget
Shopping today is easier than before with the rise of e-commerce. You can make a purchase with just a few clicks and you don't even have to leave the house!
E-commerce continues to grow and brick and mortar stores are beginning to adapt. They now have organized websites which are easy to navigate around and feature their products as prominently as possible.
The stores now have the task of making the product look appealing in-store and on their online store. However, displaying products for an online store is different compared to a physical store.
Many online shops face a major challenge because the customer can't touch the item they want to purchase. When online shops establish their stores they need to create ideal photos to appeal to the browsing customer.
Keeping the customer's attention does not require expensive studio lights or the fanciest equipment. You can make your products look more presentable on a budget with items you might already have with you:
1- Use a Smartphone Camera to Take Your Photos
There is a popular misconception that you always need a fancy, expensive camera to take photos of your products for e-commerce. This is not true. Your photos can be taken with a smartphone and you can still end up with an excellent quality product photo.
When you are on a budget you can use your smartphone to take photos of your products. Many smartphones today create high-quality photos without the need for an expensive DSLR camera. Popular smartphone brands such as Apple, Huawei, and Samsung invest in the cameras of their phones so you don't have to rely on cameras to create great photos for your e-commerce products.
2- Use a DIY Lightbox to Light Up Your Products
Good lighting is the key to making your products look good. Having bad lighting can make your products look bad because shadows would display your products in a bad light.
One easy solution to your lighting problems is to have a lightbox. You can choose from a variety of premade lightboxes but, they can become costly.
In order to save money, you can make your own lightbox. A DIY lightbox will save you a lot of money because most of its parts can be found at home.
The base of the box can be made from any cardboard or plastic box you can find at home. You can use desk lamps to light up the box. There's no need to spend a fortune on a box that only has one purpose.
There are online videos that instruct you on how to create your own lightbox. Making your box from scratch will save you a lot of money compared to purchasing a pre-made lightbox.
When you're looking for lighting in your box you're not limited to the desk lamp you are using. Natural light is a good alternative to the artificial light provided by desk lamps.
Using natural lights involves placing your product near a window with the sun shining through. This means you won't have to use a lightbox to create your image.
An alternative to your lightbox can be a plain white sheet of paper, a platform to place the product and paper and a few clips to keep the paper in place.
- Position the white sheet of paper near a source of sunlight such as your window at home.
- Attach and clip the sheet to a platform that will hold it steady such as a chair.
- Place your product on the white sheet of paper with the paper acting as the background.
3- Make Your Product Stand Out with the Help of a White Background
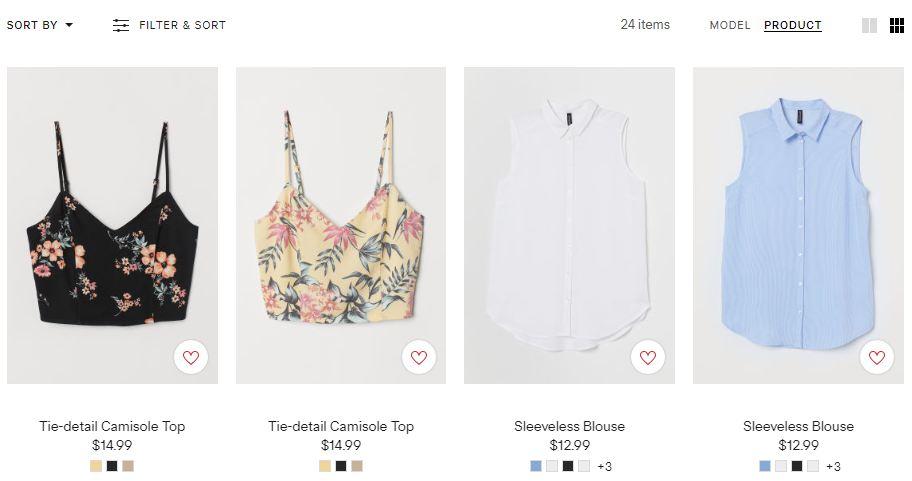
Go to Amazon or any other online retailer and you'll see that there's a pattern to a lot of their product pages. Almost every online shop uses a white background to display their products.
Here are three reasons why you should use a white background for your online-only store:
- Using a white background will save you a lot of space. Colored backgrounds take more time to load because the website has to load the colors of the product and the background. Users would have to wait for a while before they actually get what they came for which is the product.
- White backgrounds are affordable. You don't have to spend a lot of money on a white background to display your products. Even a small piece of white paper can act as your background. If you're selling small items such as mugs or pencils, a small piece of white paper will be sufficient enough to display your merchandise. You don't always have to use a large set up with expensive studio lights and backdrops.
- Online buyers visit your store to browse your products and, hopefully, make a purchase. Don't distract your buyers with dizzying colored backgrounds. A plain, white background will help the buyer's eyes concentrate on the product instead of the background.
The kind of picture you want to display will be up to you as a photographer. There is another aspect that is even more important to make your products look good.
4- Retouch Your Photos to Make Them Stand Out
No matter how you shoot a photo of your product, there will always be some flaws that you can miss. This is where photo retouching comes in.
Photo retouching is an activity that involves cleaning up your photos by removing flaws so you can display your products in their best form.
Spotted a smudge on your product? You can use photo retouching to fix that? Want to add more copies of your product in one photo? Retouching can do that.
You can find an array of photo retouching tools online but the most popular retouching tool is still Adobe Photoshop. There are a lot of techniques you can use to improve your photos but, there are three techniques that stand out above the rest:
- Use a Healing Brush to Remove Imperfections
If you're featuring a model with your product, you might spot a blemish or a scar that the makeup could not cover. Using a healing brush will alleviate your problems. Choose a flawless patch of skin on the model and use that as a basis to remove the flaws on the rest of their skin.
- Darken or Brighten your Product with Dodge and Burn
There's a tool called Dodge and Burn that lets you darken or brighten parts of your image. Dodge and Burn help with adjusting your photo's exposure. The exposure of an image determines how bright or how dark your image will look like.
- Use the RAW File Format
One way to make your photo retouching easier is by using a RAW file format. Unlike a JPEG file format, the RAW file format gives you the freedom to adjust the settings of your picture without compromising the quality of the photo.
Using a JPEG file requires you to make a new copy of the picture every time because once you edit the picture, the quality of the photo becomes worse.
The RAW file format gives photo editors more freedom to play around with the settings of the photo because they don't have to worry about a misplaced edit in one section. Using a RAW file means you can reset the settings of the photo back to how it was when you shot the image.
For more detailed instructions on dodge and burn and other features, you can visit the Adobe website. Their website explains all of the photo retouching features you can use on their software such as Photoshop.
Photoshop is just one of the many photo editing programs you can use to make your products look their best. There are other alternatives such as GIMP, Paint.Net and many others. The important thing is to make the image look good to the customer at first glance.
A study by Shopify mentioned that a buyer's first impression is generated within 50 milliseconds before they leave a page. In order to capture the audience's attention, you should look for instructional guides by companies that conduct e-commerce photo editing services such as the Paper Boat Creative.
Their website features guides on photo retouching and they even have a section dedicated to product photography so you can have a better understanding of how you can make your products look their best and keep the customer's attention and, hopefully, make a purchase.
For a Better-Looking E-Commerce Photo
Creating the ideal e-commerce photo does not have to be expensive. Sometimes, the items you need will come from a small sheet of paper or a box you already have at home. Learning how to retouch your own photos will help you understand how to make your photos look excellent enough that customers can stay long enough on your page and make a purchase.
E-commerce photos can be created without spending a lot of money. All it takes is a few items you have at home and learning how to clean up your photos by yourself.
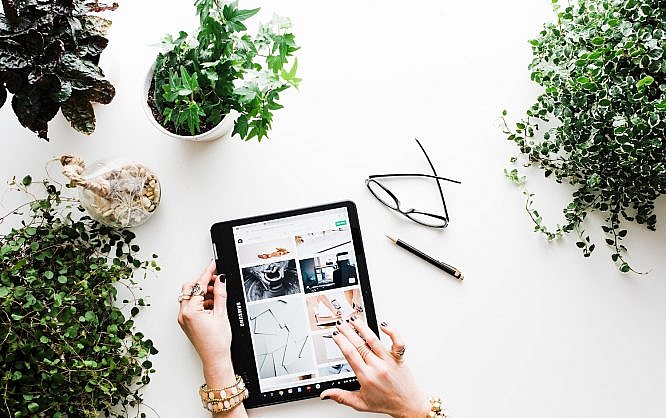
Featured image by Brooke Lark on Unsplash
thanks for sharing your amazing post for make photo on a budget for e-commerce really I am very happy to read this blog
e-commerce is my favorite one
i recommend to anybody to read this article
I started photography for some website , in this article i learned some hit , if you like to start photography profession then i recommended to read this article.
Great piece of content about ecommerce
I started photography for some website , in this article i learned some hit , if you like to start photography profession then i recommended to read this article.
I started photography for some website , in this article i learned some hit , if you like to start photography profession then i recommended to read this article.\
Thank You.
Wow! Really that was a great post. Thank you for sharing this interesting blog with us. I really like your this post.
Thank you.
Hi dear, Thanks for sharing your amazing post for make photo on a budget for e-commerce really It’s mesmerized me. Here you teaches some important things.
It’s a wonderful post. It’s very conducive for us. Types of posts have been searching by me. An article about post had been red by me some days ago. But article is better than post.