
How to Redirect Your Visitors Without a Hustle
Have you or your visitors been getting 301 and/or 404 errors when viewing certain pages on your WordPress site? If the answer is yes, fear not as we’ll get to the bottom of the issue where you’ll discover how easy it is to fix these annoying errors from displaying on your website.
Even with the most meticulous care, some web content such as pages or external links get broken or forwarded to another location and this is why it is important to frequently update such content and be on the lookout for the next culprit. If you don’t take care of these errors as quickly as possible, they will slow down your WordPress site’s performance and lower your traffic rates. Therefore, remember this – always redirect your content, do not let it pass by unnoticed. By redirecting, you get to keep the old URL’s search engine value and your visitors will not get greeted by an error upon opening the old URL. As redirects are important for SEO, be careful when using redirect chains or if you have numerous old and unrelated 301 redirects that need your attention. If you take good care of your WordPress website, it is possible that these types of errors don’t and won’t occur but, in most cases, they do occur occasionally. Honestly, it is highly likely that you’ve already seen the most common errors and you probably just forgot about them. These errors are known as 301 and 404 errors and they do differ a bit.
301 Errors
These errors inform the user that the requested destination URL has been moved permanently to a new URL. This is why a redirect needs to be set up for the new location URL to be attached to the response. It forwards the client to the new working URL, which needs to be set up by editing the HTML code or simply using the 301 Redirects – Easy Redirect Manager, a WordPress plugin.
404 Errors
More commonly known as “404 Not Found” or “Page Not Found”. This error informs the user that the server couldn’t find the requested page (URL). Typically, "404 Not Found" is caused when someone requests to open non-working or modified URLs. These aren’t your browser’s fault as they are client-side errors. It’s highly recommended that you take care of these as soon as they start occurring.
What Is a Redirect Chain?
A redirect chain occurs when you have multiple redirects from the source URL and the destination URL. Unfortunately, this slows down performance and ruins the user-experience as often at times, it takes search engines longer to go through all of the redirects and open the final working URL. Through each redirect, some authority gets lost and this is why you should use single-step redirects, which will also decrease the load times. Don’t stack up duplicate or multiple redirects and you won’t create redirect chains. If you don’t want your SEO to suffer, simply follow these tips and you’ll have your redirects set up properly in almost no time.
Example of a redirect chain:
You posted an article and you redirected it to a new URL when you updated it a month ago. So, URL X was redirected to URL Y. Now, you want to redirect it to a new URL XY. So, you’ve redirected URL Y to URL XY and you have multiple URLs to go through to reach the last working URL.
What Are Redirects and What Do They Do?
A redirect is an automated process that sends a user’s request to a different URL instead of the original URL which was requested. This saves time and resources. Also, you don’t have to manually type in the working URL, which really simplifies things for users and search engines.
For example, a 301 redirect tells your web browser: “The page has been permanently moved.” Your web browser replies: “Sure thing, let me redirect the user request to the new working URL!”
We use 301 redirects when we want to transfer the SEO value from the old URL to the new one. By setting up redirects, you eliminate all the dead ends and save the page ranking authority.
When the original URL is down or broken, a 301 redirect sends the request to a working URL. This is highly important for providing a good user experience and making sure that all user requests are properly executed. Don’t forget to update all of the external links as well after redirecting content.
When Do You Need 301 Redirects?
- When you want to change the domain name
- When you want to redesign your site
- When you need to remove content
- When you need to change URLs
- When you want to merge two domains
- When you want to merge content
You can easily redirect your visitors with a free WordPress plugin.
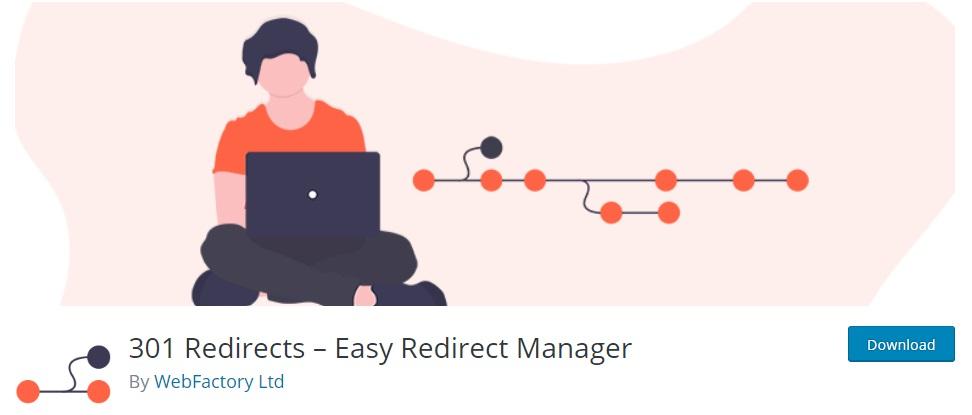
301 Redirects – Easy Redirect Manager is a plugin that helps you redirect traffic from the old URL to a new one. Keep in mind that a 301 redirect is permanent and transfers the original SEO stats to the new URL. If you want to learn more about redirects in WordPress, feel free to check out the Ultimate Guide to Creating Redirects in WordPress. Before we start, let me tell you about the useful features of the 301 Redirects – Easy Redirect Manager plugin.
301 Redirects - Easy Redirect Manager
301 Redirects – Easy Redirect Manager is a free WordPress plugin that is regularly updated and offers long-term support. This plugin allows you to manage your 301 & 302 redirects, keep your SEO stats, and improve your site’s ranking.
Easily set up quick redirects to the new URL when you have to modify existing content and need to repair links or you have content that will expire soon and you don’t want your visitors seeing a 404 page.
The plugin is perfect for merging articles, pages, posts, and even your entire website.
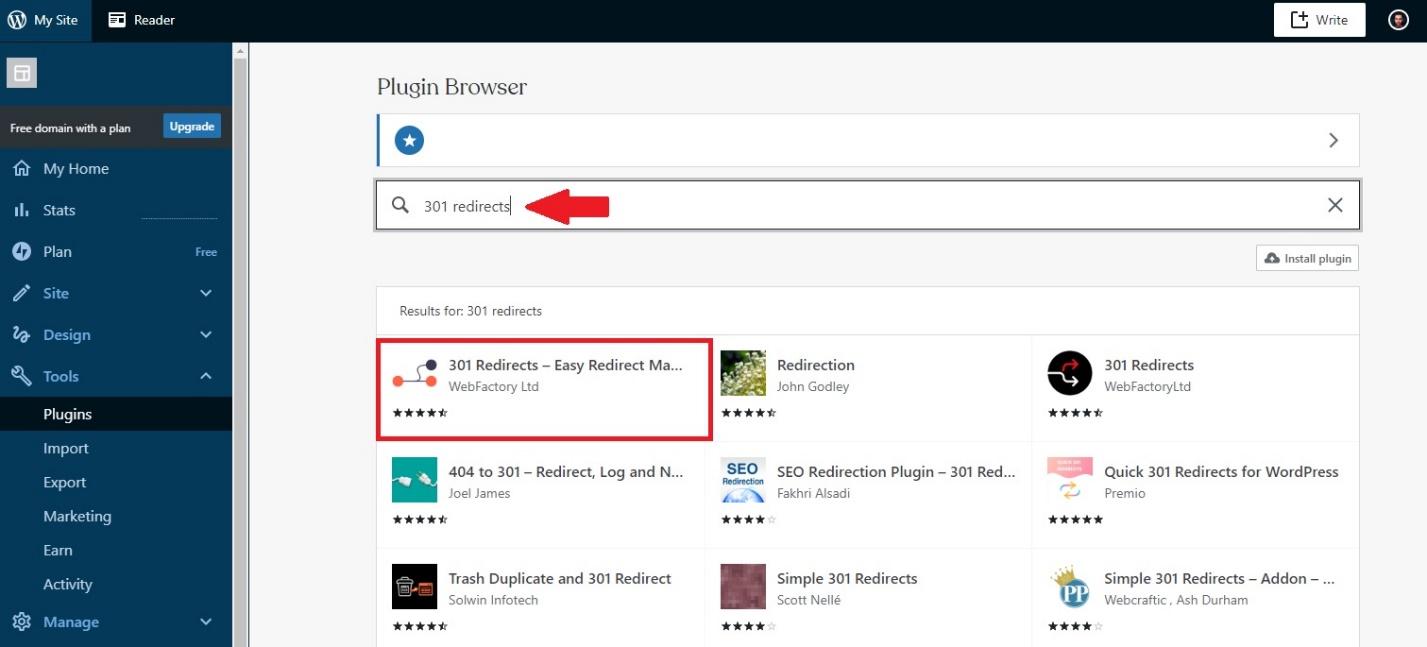
How to Install & Use 301 Redirects - Easy Redirect Manager?
First of all, you don’t need to modify the HTML code or have any coding skills to use this plugin.
You can install the plugin by going to the WordPress Dashboard ? Tools ? Plugins where you need to type in “301 Redirects”, click on “Install”, and then on “Activate”!
Or, simply download the plugin and upload the (unzipped) “eps-301-redirects” folder to the WordPress content plugins directory, and activate it through the Plugins menu.
By going to the “301 Redirects” tab, you can add the requested URL and select the destination URL to configure the redirect. Paste the destination URL of your redirect, or use the menu to select. Your redirects are shown down below.
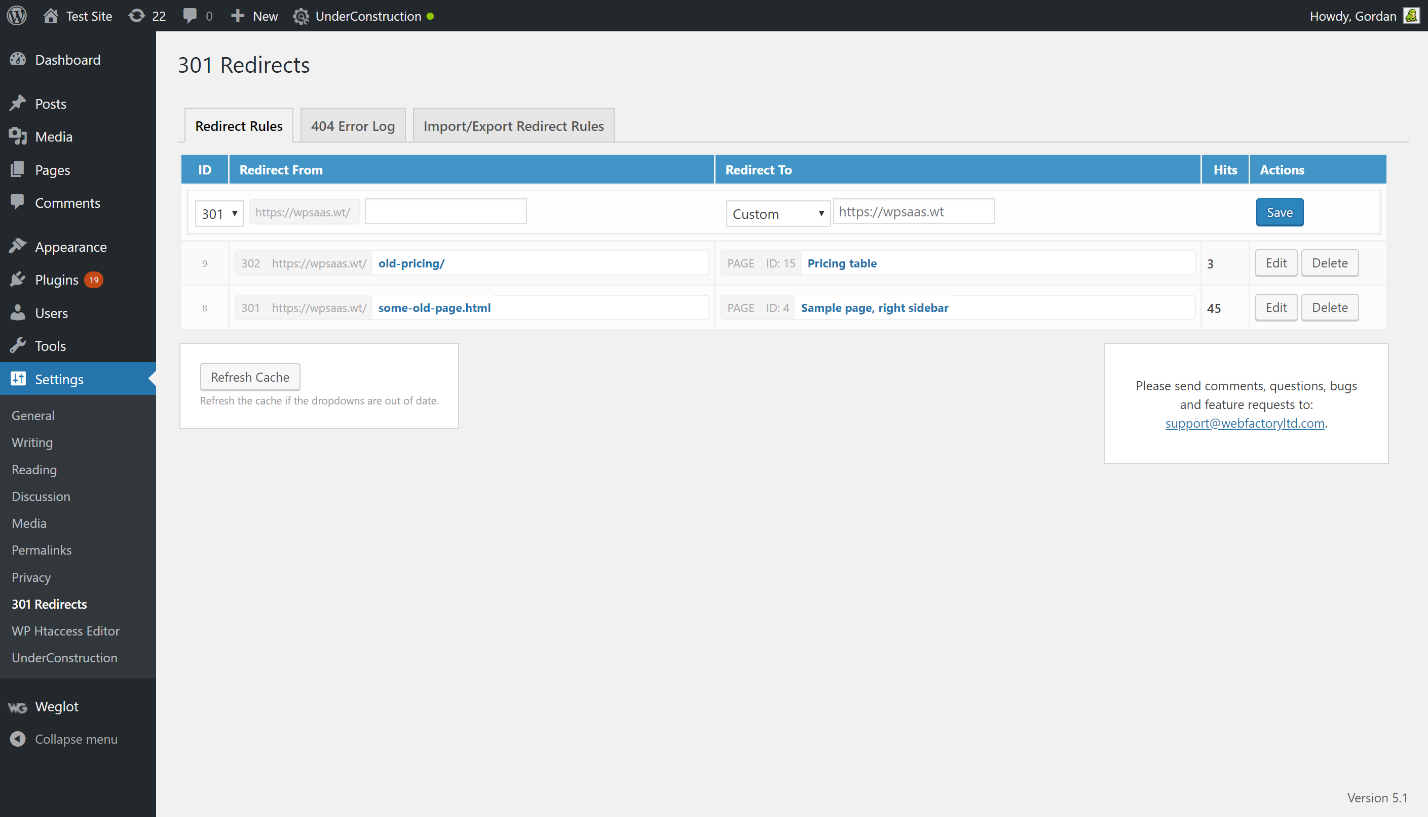
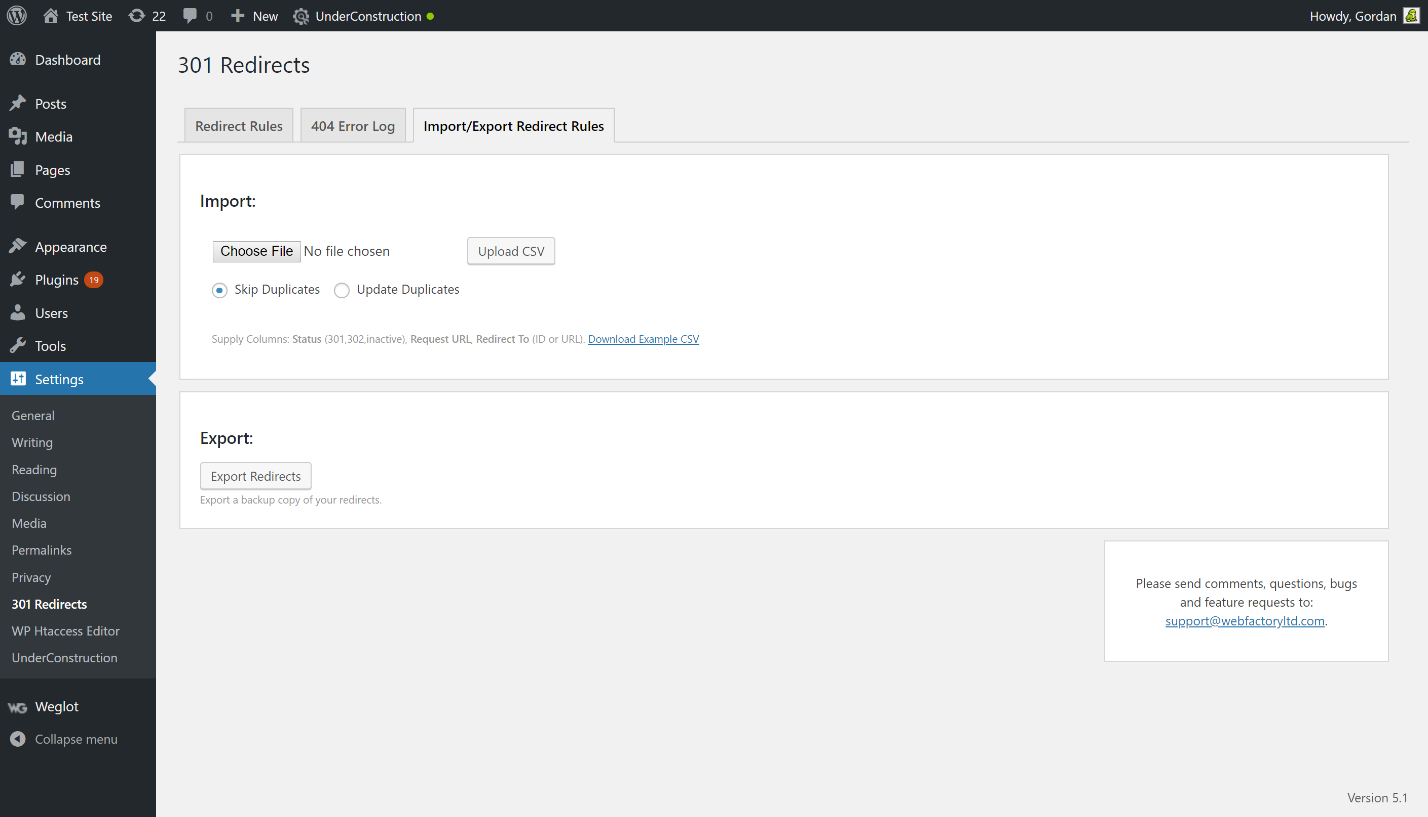
Another important feature is the “Export Redirects”, which allows you to export the list and track the number of redirected visitors for each redirect.
Tips:
- Redirects are permanent and need to be done as soon as possible.
- Remove old content to avoid duplicates.
Now that you’re done with redirecting visitors, you can start looking for the next best thing for your WordPress site. If you need more tips or tools check out the following pages:
Redirects are one of the essential parts of every website owner’s journey. They possess huge value and can be a real lifesaver if you implement them properly. It’s a common misconception that redirects are a complicated procedure that requires surgical precision, but when you break it down, it’s really as simple as it gets. Keep the original SEO value, rank higher, improve your site’s user experience, and remain on top of your game because your real digital victories are yet to be claimed!
Photo by Stephen Phillips - Hostreviews.co.uk on Unsplash